How Custom Site Furniture Gets Made
Custom benches, racks and planters go through a predictable path from brief to installation. Knowing each step helps you plan the budget and schedule, and avoid late changes that cost the most.
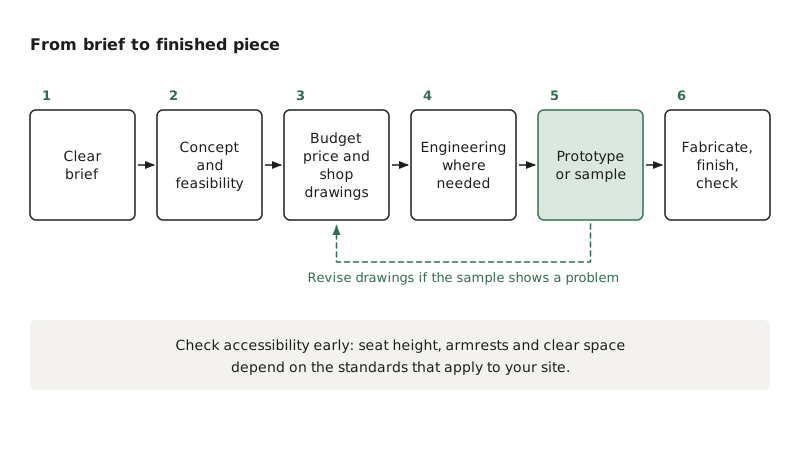
Custom site furniture ranges from a small change to a standard product, such as a logo cut into a bench back or a non-standard color, to a completely new piece designed for one plaza. Either way, the work follows the same basic sequence: brief, concept, drawings, approval, prototype where needed, fabrication, finishing and delivery. Most delays and cost overruns come from skipping or rushing one of these steps. Here is what happens at each stage and what you can do to keep it moving.
1. Write a clear brief
A good brief saves more time than any other step. It does not need to be long, but it should answer:
- What is it? A bench, a rack, a planter, a set of items.
- How many? Quantity has a big effect on unit cost, because setup and tooling are shared across the run.
- Where will it go? Street, park, campus, rooftop. Include photos and a site plan if you have them.
- How will it be used? Expected traffic, vandalism risk, winter conditions and maintenance capacity.
- What should it look like? Reference images, brand colors, logos, materials you like and do not like.
- Budget and date. A realistic budget range and the date it must be installed.
If the design comes from a landscape architect, the brief may already be a set of design drawings. That is a fine starting point.
2. Concept and feasibility
The fabricator reviews the brief and proposes how to build it. This is where design meets the realities of steel, wood and finishing. Expect questions such as:
- Can the shape be laser cut and bent from sheet, or does it need tube bending, rolling or casting?
- Will the piece fit through the galvanizing kettle and the powder coating oven? Very large parts may need to be built in sections.
- Where will water collect, and how will it drain?
- Can parts that will wear out, such as slats, be replaced easily?
- Does the design meet accessibility needs, such as seat height, armrests and clear space? These depend on the 2010 ADA Standards for Accessible Design and state and local codes, so confirm the requirements that apply to your site.
Often the best custom piece starts from a proven standard frame. A modified standard bench costs less, has known strength and keeps spare parts simple. Our custom team will usually suggest this route first if it suits the design.
3. Budget pricing and shop drawings
Once the concept is agreed, you get budget pricing and then shop drawings. Shop drawings are the fabricator's detailed plan for building the piece. They show:
- All dimensions, in inches, with metric where helpful.
- Materials, thicknesses, tube and bar sizes.
- Weld locations and types.
- Finish system and color codes.
- Mounting details and anchor requirements.
- Any cut text, logos or patterns at full detail.
Review the drawings carefully. This is the cheapest point to make changes. A change after cutting begins can mean scrapping material and restarting.
4. Engineering where it is needed
Most benches, racks and planters do not need formal engineering. Some custom items do:
- Shade structures and canopies, which carry wind and snow loads. These need design and footings by a professional engineer, and usually a building permit.
- Tall elements such as gateways, sculptural pieces and large signs.
- Furniture installed on structures such as parking garage roofs or bridges, where the structure itself must be checked.
- Anything described as protecting people from vehicles. Only tested, crash-rated systems should be relied on for that purpose.
Build engineering time into the schedule. A cantilever shade in a custom size, for example, needs stamped drawings before fabrication and a permit before installation.
5. Prototype or sample
For larger orders or unusual designs, a prototype is worth the cost. It lets you sit on the bench, lock a bike to the rack and check the color in daylight before committing to the full run. For smaller orders, physical color samples on steel and a sample of any wood or plastic are often enough.
Approve color on a real finished sample, not a screen or a printed chart. Powder coat colors look different in sunlight, and texture and gloss change how a color reads.
6. Fabrication, finishing and quality checks
Production follows the approved drawings. A typical sequence for steel furniture is:
- Cutting parts by laser, plasma or saw.
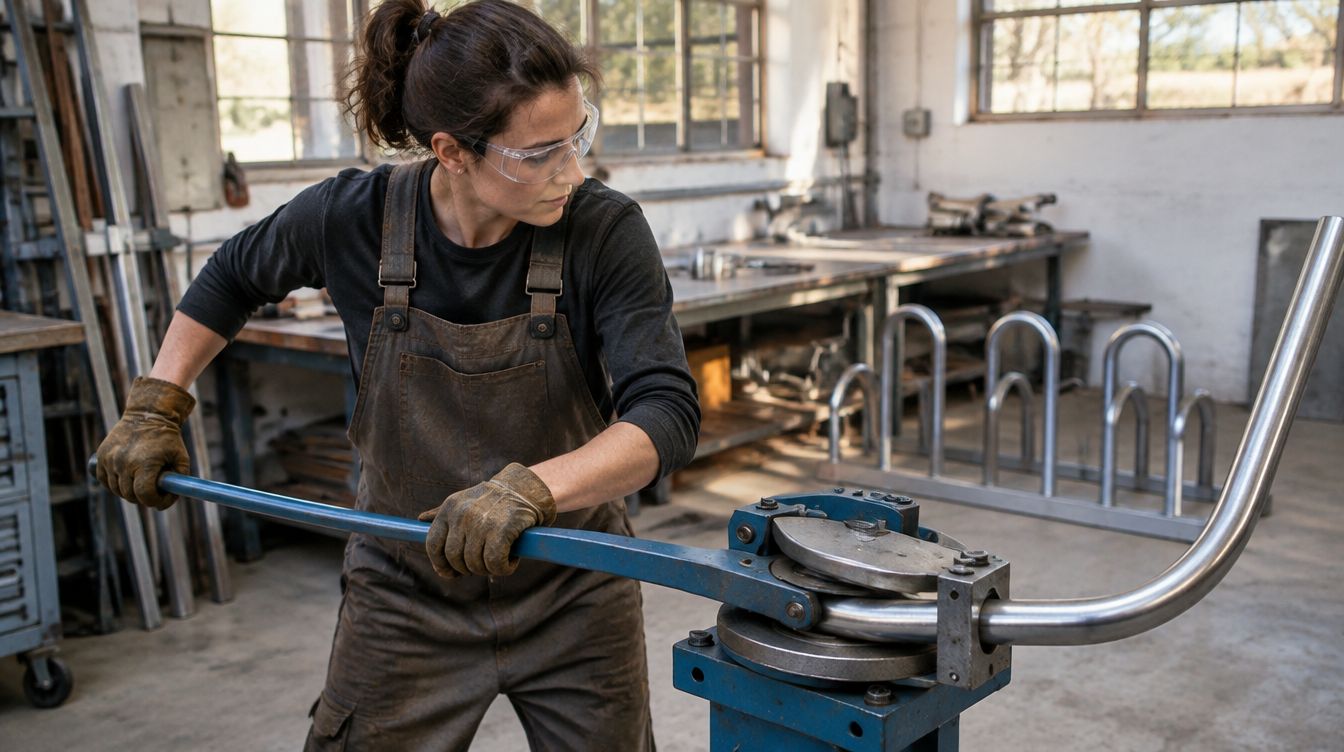
- Bending, rolling and forming.
- Welding and grinding.
- Hot-dip galvanizing, if specified.
- Surface preparation and pretreatment.
- Powder coating and curing.
- Assembly of wood, plastic or other components.
- Inspection against the drawings, then packing.
Galvanizing and coating are often done in batches, so their schedules affect the delivery date. Custom lead times depend on complexity and quantity, and are confirmed with the quote. Standard models, by contrast, ship in about two weeks.
Keeping costs under control
- Change a standard product rather than inventing a new one when you can.
- Keep custom elements to the parts people see and touch.
- Make decisions early. Late changes cost the most.
- Order spares in the same run. Reordering a few custom parts later costs more per piece.
- Keep the drawings. They make future reorders simple and consistent.
Frequently asked questions
Is there a minimum order for custom furniture?
Not always. Simple changes such as a custom color or cut logo can make sense on small quantities. Fully new designs carry design and setup costs, so they become more economical as quantity rises.
Who owns the design?
Agree this at the start, in writing. If you want to be able to reorder from other fabricators in future, make sure you will receive drawings you are free to use.
Can a custom piece match our existing furniture?
Usually, yes. Provide the model, color code and photos of what you have, and the new piece can share its profiles, materials and finish.